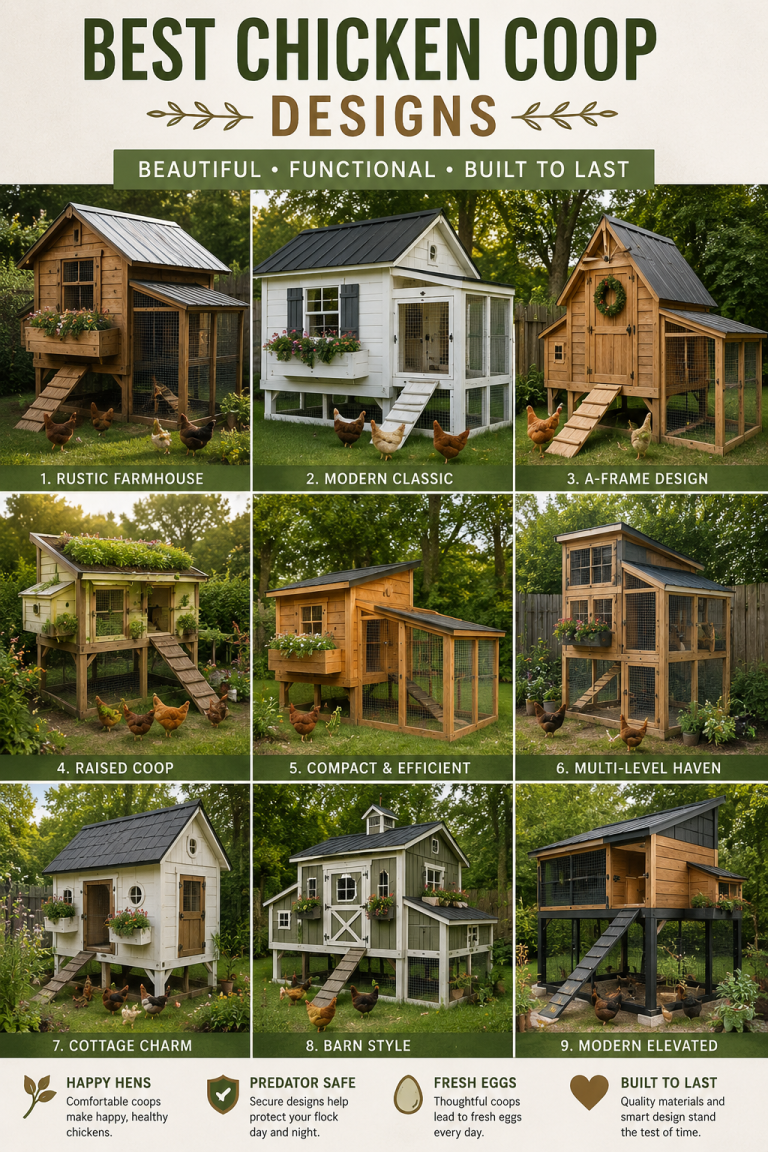
Complete Chicken Coop Plans: Everything You Need Before You Start Building
Building without a proper plan is the most common and most expensive mistake first-time chicken coop plans & builders make. You get halfway through a build and discover you have not planned the door opening in the right place, the nesting boxes block the clean-out access, or the coop is too small for the flock you actually want.
This complete planning guide walks you through every decision you need to make before sawing a single board.
Complete Chicken Coop Plans:
Step 1: Decide Your Flock Size First
The flock size determines every other dimension in your plan. Work backwards from the number of hens you want to keep:
| Number of Hens | Min Coop Size (indoor) | Min Run Size (outdoor) | Nesting Boxes |
| 3 to 4 hens | 12 to 16 sq ft | 30 to 40 sq ft | 1 to 2 boxes |
| 5 to 6 hens | 20 to 24 sq ft | 50 to 60 sq ft | 2 boxes |
| 7 to 8 hens | 28 to 32 sq ft | 70 to 80 sq ft | 2 to 3 boxes |
| 10 to 12 hens | 40 to 48 sq ft | 100 to 120 sq ft | 3 to 4 boxes |
| 15 to 20 hens | 60 to 80 sq ft | 150 to 200 sq ft | 4 to 6 boxes |
Step 2: Plan Your Ventilation
Ventilation is the single most important design decision in any chicken coop. Poor ventilation causes respiratory illness, moisture damage, and ammonia buildup. Plan for:
- Ventilation openings near the roofline on all four walls, covered with hardware cloth
- Total vent area: at least 1 square foot per 10 square feet of coop floor
- Cross ventilation: openings on opposite walls so air moves through, not just in
- Adjustable vents that can be closed in extreme cold but never completely sealed
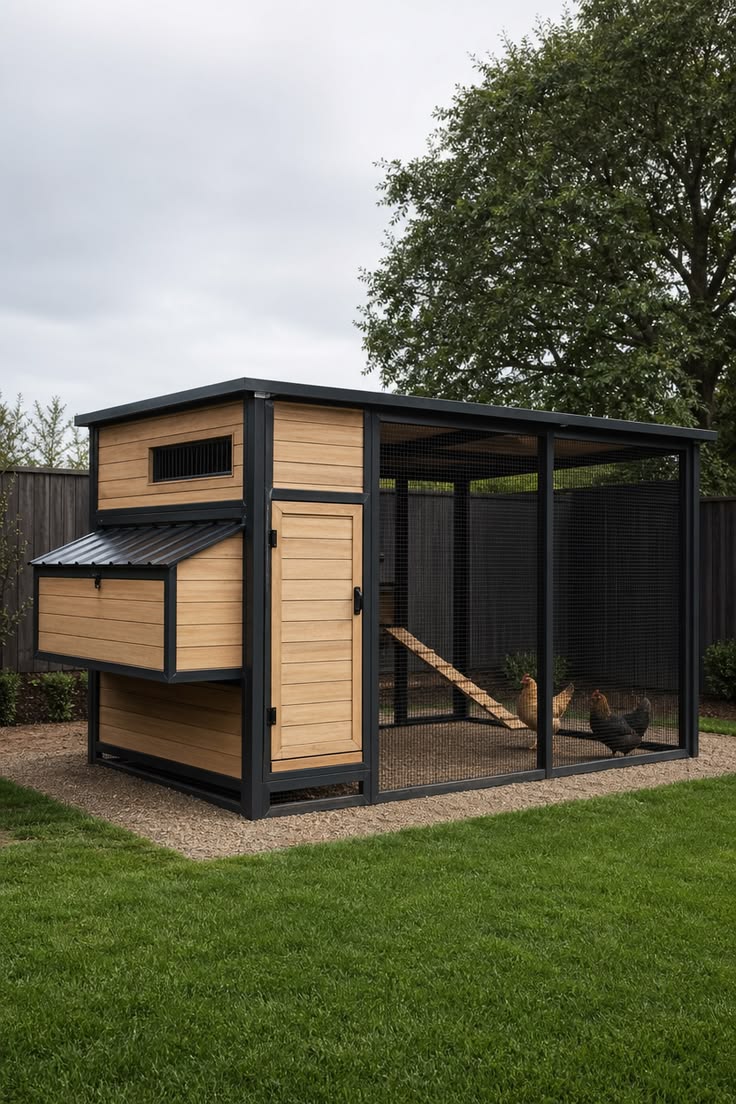
Step 3: Plan Your Predator Proofing
Plan for predator proofing before you buy materials:
- Hardware cloth on all openings — half-inch welded mesh, not chicken wire
- Predator-proof latch on every door — two-step mechanism
- Foundation: bury hardware cloth 12 inches deep in an L-shape or use a solid concrete pad
- Automatic door closer — set-and-forget protection at dusk
Step 4: Plan Your Key Interior Features
Roosting Bars
Allow 12 to 15 inches of roosting bar per hen. Use round or slightly oval bars, 1 inch in diameter. Position higher than nesting boxes so hens sleep on bars, not in nest boxes. Spacing between bars: 12 to 18 inches both horizontally and vertically.
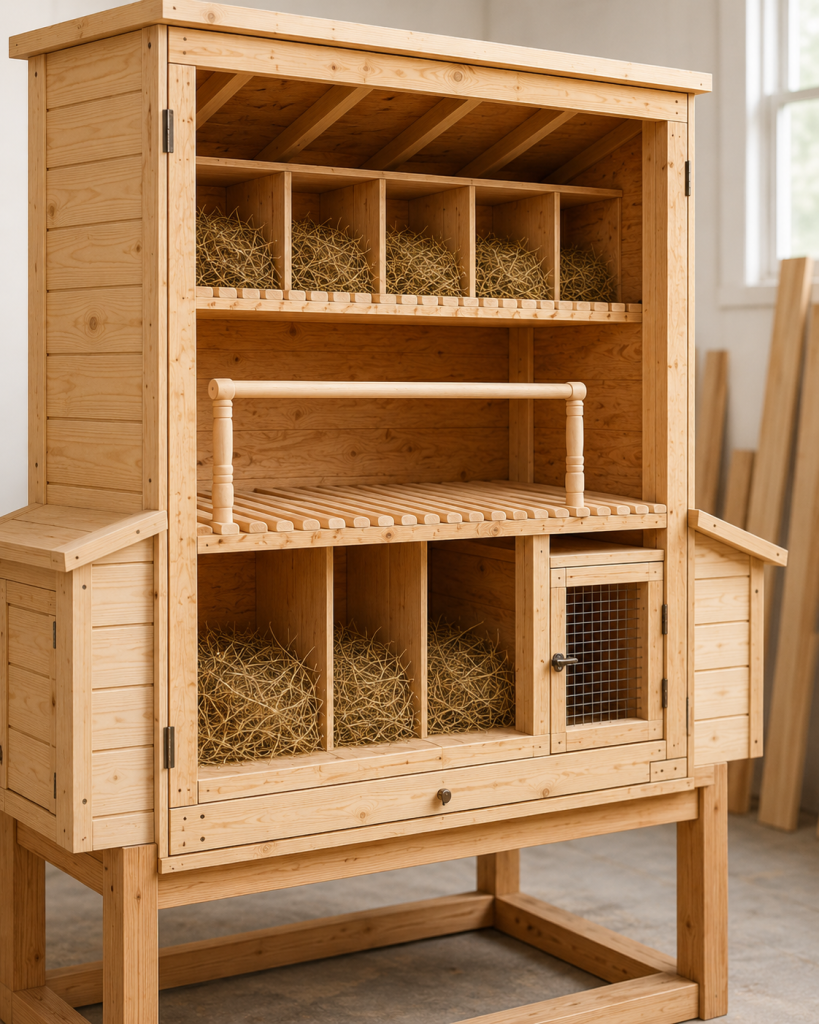
Nesting Boxes
One box per 3 to 4 hens. Size: 12×12 to 14×14 inches per box. Position 18 to 24 inches above the floor. Lower than roosting bars to prevent hens from sleeping in them.
Clean-Out Access
Plan a way to fully clean the coop without crawling inside. Options: hinged roof section on small coops, large side door, or removable floor trays. This is routinely overlooked and very frustrating to retrofit.
Feed and Water
Plan where feeders and waterers will hang or sit. Hanging is preferable — it reduces contamination and stays level. Allow clearance for refilling without ducking under the coop roof.
Step 5: Plan Your Materials List
For a standard 8×6-foot walk-in style coop, your materials list should include:
- Pressure-treated 4×4 posts for corners
- 2×4 lumber for framing — calculate from your plan dimensions
- 3/4-inch plywood or T1-11 siding for walls
- Metal roofing or asphalt shingles
- Hardware cloth — half-inch mesh, enough to cover all openings
- Poultry netting — for run fencing
- Galvanized poultry staples — for attaching wire to frames
- Exterior paint or stain
- Hinges, screws, and a quality latch
Frequently Asked Questions:
Do I need a building permit for a chicken coop?
It depends on your municipality. Coops over a certain size (often 100 to 120 sq ft) typically require a permit. Check with your local planning department before building.
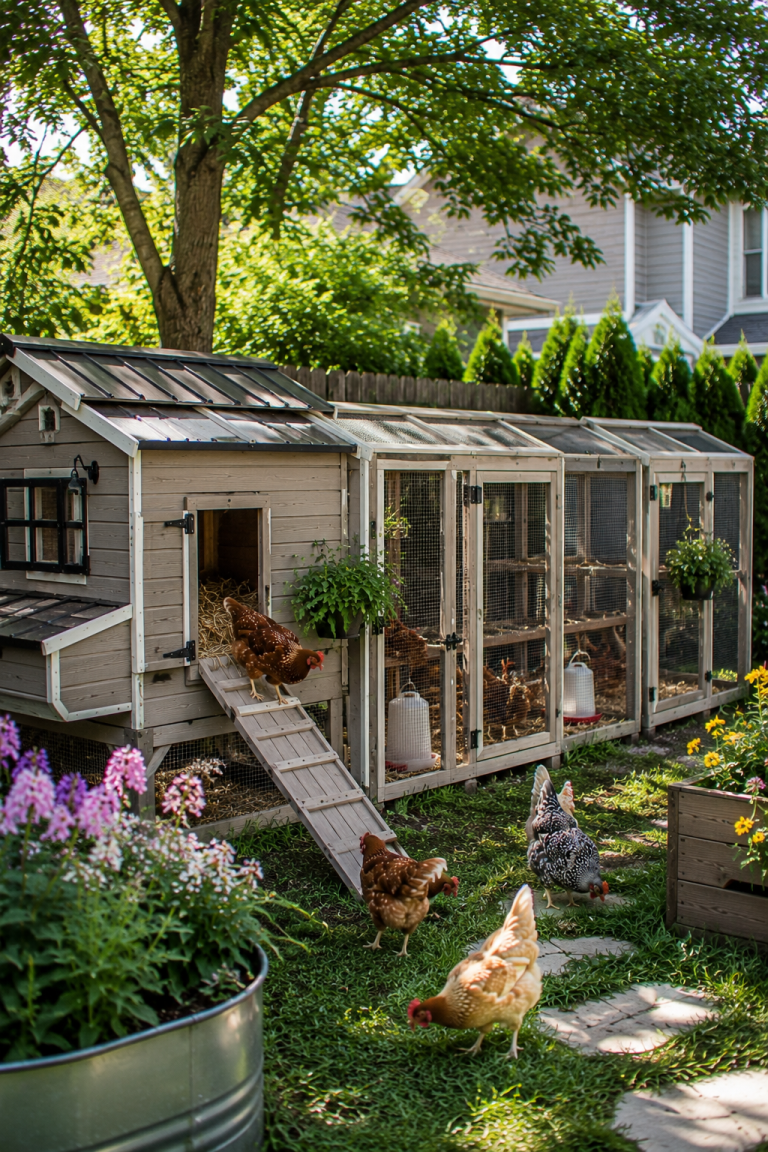
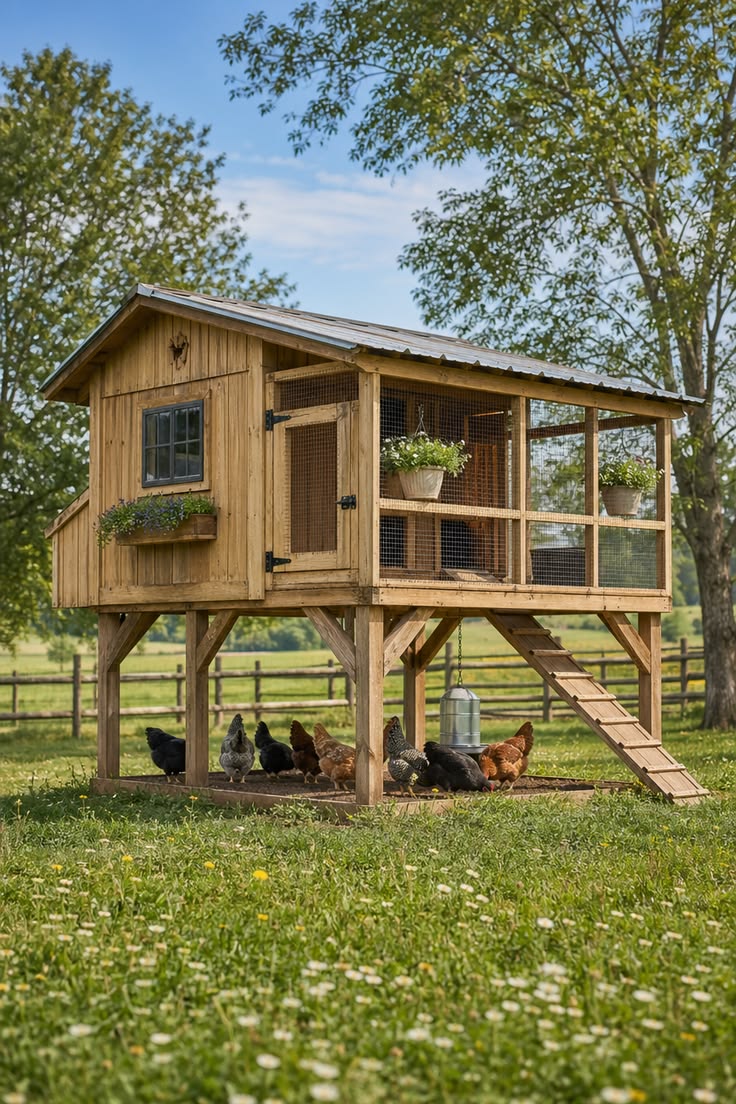
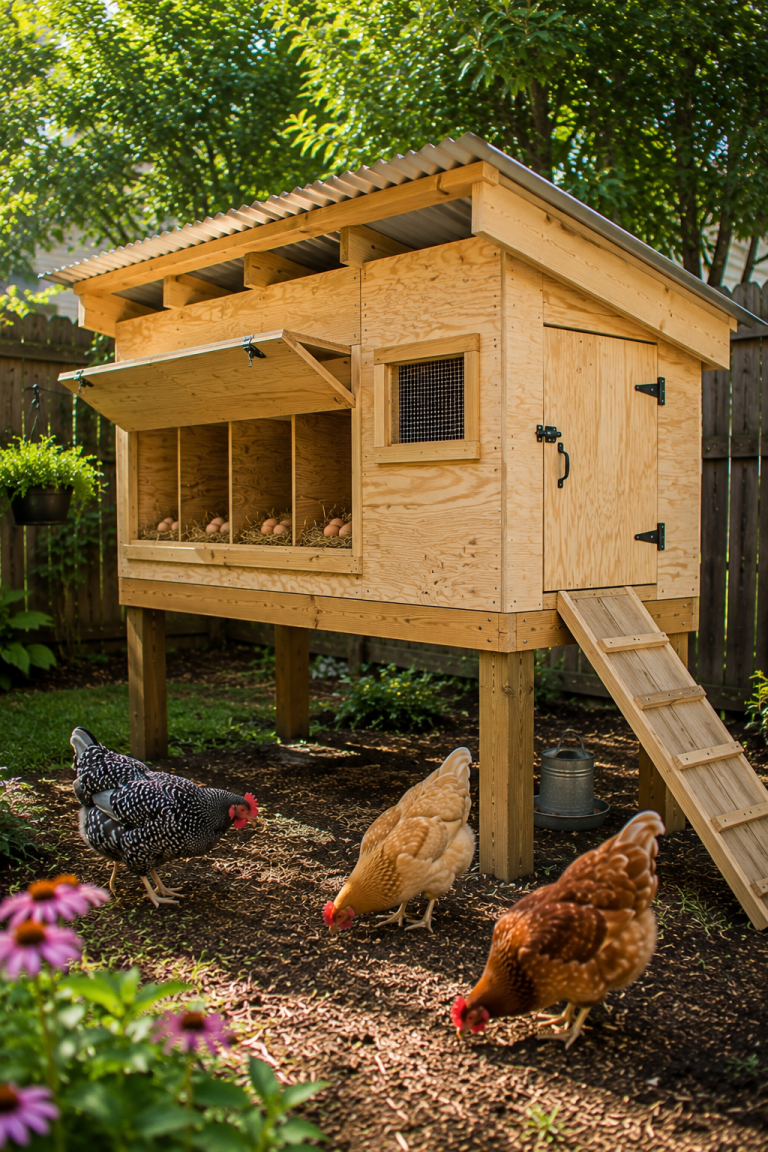
Should I build raised or ground-level?
Raised coops (on legs or a platform) have several advantages: better air circulation, reduced rodent access, and the sheltered area beneath becomes useful run space. Most experienced keepers prefer raised designs.
How do I plan for extreme weather?
In very cold climates, plan for an insulated coop with a vapor barrier and a smaller interior volume to retain hen body heat. In very hot climates, prioritize maximum ventilation and shade over insulation.